
Introduction:
Glass can be nonabsorbent painting support which often does not allow the paint to simply adhere to it – in addition to through the paint’s own machine drying process.
For this reason, the sets out of a subject painted about glass need to be simplified when applied to a highly smooth wine glass surface. Simplifying a subject is not going to detract from the outcome after the painting is accomplished, and the final result can often provide an appearance similar to that of unsuspecting art about composition and form and a certain quantity of other details. Many performers may find that such copies can be very interesting.
Working the paint or perhaps changing outlines without smudging the surrounding areas of undried fresh paint may require some concentration initially and a certain amount of talent. Still, with patience and progress in their skills using this piece of art technique, artists will find that applying and mastering using glass as support might be more accessible as time progresses.
MATERIALS REQUIRED FOR PAINTING WITH GLASS
Glass
Choose clear unflawed glass (or plexiglass) in the shape and size you wish to work with. To begin mastering the thought of reverse painting, it is well-advised to choose smaller sizes at the beginning.
Paints
It is essential to use a shade that will adhere properly to the surface of the glass. Oil-based paints or acrylics tend to be used for this reason. You can also get opaque and transparent complex artist colors specifically manufactured for use over a nonabsorbent surface. Metallic shades (e.g., gold, silver, or copper) can also be interesting to work alongside. An increasing number of new skill products available today may be well suited for painting on a nonabsorbent area, such as glass.
Paintbrushes
To begin with, choose a selection of small or perhaps medium-sized paintbrushes with great, flat, and pointed hints. Larger brushes can be used to get working on a larger scale. Designers can also use less specific tools for applying shade if they wish, depending on the side effects obtained through experimentation that interest them.
A penholder
Used for outlines (if required) and finer details. It is usually an advantage to use interchangeable absences suitable for creating both dense and thin outlines.
Printer for creating outlines with glass
The inks applied need to be suitable for applying to any nonabsorbent surface, such as glass. As an alternative, paint can also be thinned down into a more liquid web form and used for creating traces, in which case attention must be given to creating the right mix of fluidity and thickness.
Any painting palette or something such as mix your paint in.
A palette knife -(optional) for mixing paint.
Performers paint cleaner or cleaner – used for cleaning or perhaps sometimes for thinning, depending on whether oil-based or water-based paints are used.
Any paint-drying agent – (optional) For mixing with chemicals to help speed up the blow drying process
Paper toweling or something clean rags
Mirror instructions (optional) can be used to check the advance of your painting while you are carrying on to work. Place the mirror where it will reflect your artwork from its observing side.
Cellotape – or maybe a similar average-width sticking record
An easel – (optional) to prop your work with
A glass-cleaning product
GETTING READY FOR THE GLASS
Choose a little bit of clear glass in the size you would like to work with and look at it carefully to ensure the goblet is neither scratched none flawed. It is worthwhile knowing how a flaw in the goblet itself will often detract from the finished appearance of a piece of art and may be impossible to eliminate after completing your a Muslim.
The sheet of glass that is to become you’re a Muslim constitutes the following:
(1) The particular ‘painting side’ can be the side you will be painting in.
(2) The ‘viewing side’ – the side you will look at (or through) when you progress with your work and it has been completed.
To provide the cutting edges in the glass safe, take a duration of sellotape that will correspond to the duration of one edge. Apply it properly along that length (ideally, it is folded equally over each side of the glass).
Repeat this procedure for the other three or more glass edges. The edge with the sellotape will also help symbolize the outer limits of your lady.
Clean the surface of the goblet thoroughly with a glass-cleaning solution. Use paper toweling or any other cleaning material that will not get away from dust or threads on your painting surface.
The store often the glass where it will be risk-free. It will be safeguarded from scratches and dust if placed between the newspaper bedding.
PRODUCING OUTLINES
Art products inside a liquid form suitable for creating outlines on glass may be readily available in some nations worldwide. Oil-based paint, water-based fat, and ceramic paint could also be used for this purpose. To create great lines, these paints sometimes need to be thinned to use with a dog pen nib or similar line-drawing tool.
To prevent lines from being effaced too simply, you can use oil-based paint to create the shapes of your subject if the shade you will be applying over the top of the USB ports (after it has adequately dried) is water-based. Slow this procedure if your outlines are set up with water-based paint.
Use a liquid paint solution that will provide the best aprobacion possible to a glass exterior.
Due to pen nibs clogging relatively quickly, attention must be paid to cleaning the nibs regularly.
OUTLINE APPROACHES
Method 1.
If you have a hand, you can use a freehand method for applying outlines instantly onto the surface of the glass.
Method 2.
Use an original issue for your painting (e., grams. a drawing) and place this under the glass, then back it up onto the wine glass surface.
Method 3.
Location a layer of carbon paper on top of the glass. After that, place your drawing on the top of carbon paper, and with the pointed object, trace the topic onto the glass. Take care not to damage your original picture (the image being copied) when using a pointed item.
Method 4.
A reversing table can be used for making outlines. This table has a sheet of clear cups inserted into the top; an electric light source is below it. Some tracing tables can be very sensible and helpful for those who frequently should trace their work.
Method 5.
You can omit outlines.
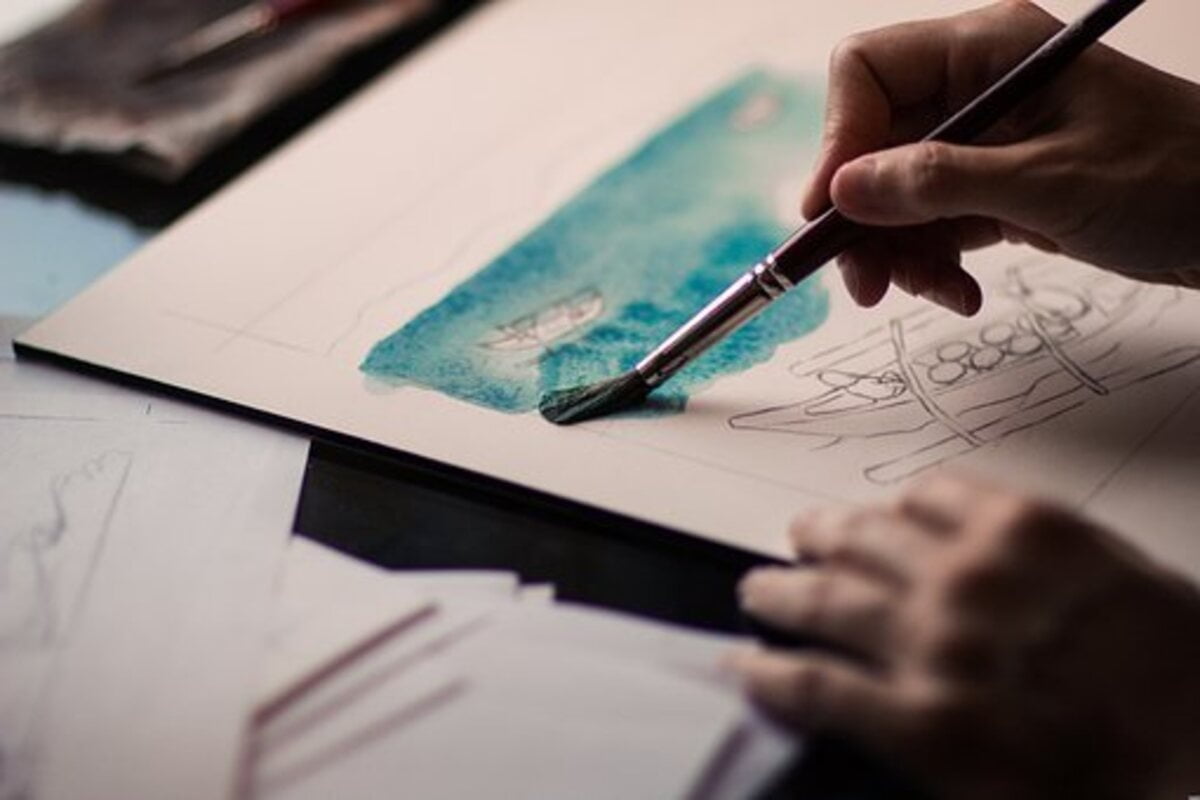
APPLYING THE PAINT
Almost all artists prefer how to job when creating artwork. As soon as it has been decided whether to operate on a table or use a table or a standing easel, it will be necessary to view the artwork regularly from its statement side to see the progress.
For some artists, you need to take the glass in their fingers and turn it around to check it out directly from the statement side. Others prefer to use a mirror placed directly opposite their working area to enable them to observe their progress while they paint.
Mixing as well as blending
If you blend colors, always do so on a color scheme or similar flat thing before applying them to the glass. If colors are not well blended or merged, the result will be a streaky visual appeal in the paint on the declaration side of the glass.
Keeping away from smudges
When creating an opposite painting on glass, you will need to watch out for smudges or debris of dirt or airborne dirt and dust that may accidentally be shifted onto unpainted areas of your artwork as you progress. Until removed, these may appear while flaws that will show whenever viewing the artwork through its observation side. If they are also inadvertently covered, having a layer of paint eliminating them afterward may become messy and complicated. When taking off any smudges, always be cautious not to damage outlines or even other areas of paint you might have already applied.
Applying the actual paint
Once the subject’s outlines have thoroughly dried out, you can begin to apply paint to fill in the remainder of your artwork. Begin with the smallest and most comprehensive or intricate areas very first, e. g., eyes, encounters, small figures or materials, etc. – and always understand that your artwork will be discovered from the opposite side of the one your painting as well as that you are painting in reverse knowing that therefore foregrounds precede experience.
When applying the opposite painting method, it is an acceptable policy to reflect thoroughly on the sequence in which your painting will develop before beginning to use your paint. This will require a systematic attitude for this particularly interesting and intricate painting technique.
Praying you many pleasant hrs of reverse painting!
Read also: Precisely Why Do Spots Reappear About Clean Carpets And How Does One Keep That From Going On?