
Nowadays, it’s nearly difficult to keep up with everyone’s penchant for hoarding. The mess persists despite your best efforts to clear it up. Paperwork, research materials, and books serve as makeshift desks for the computer. The closet ate your brand-new clothes. It’s now a rescue operation to find something. The moment has come to construct a proper closet system.
It’s much easier than you might think. You’ll need to follow these directions carefully. If you follow the steps in the order given, you will soon have a clutter-free home. Relax and find your drive.
The first step is to measure the closet you intend to use. This includes all the walls, the ceiling, and the basement. You should be aware of the available space. Get accurate proportions by sketching them out on graph paper.
A closet organizer might be as simple as a two-tiered hanging rod, some shelves, and some baskets. You must enter a deep closet from the entryway to the farthest back wall. The narrow coat racks require lateral movement. It’s possible to use the exact blueprint for both purposes.
After finalizing a blueprint, it’s time to start shopping for supplies. Always add 10% to the linear board feet for the cuts. In case you accidentally trim a board too short, it is prudent to stock up on a couple of replacements. Ask the service desk for assistance if you’re unsure how much of a particular item you’ll need. This is precisely why they were set up.
If you want to mount your shelves on the wall, you’ll need to install shelf supports. In a closet with an 8-foot ceiling, they should be hung at a height of 84 inches. There will be plenty of room on the top shelf for your belongings. When putting these boards up, make sure to utilize drywall anchors. This is one unit you do not want to defect. If you need another shelf, you can install the second set of supports by measuring down from the first. Looking down 8 to 12 inches from the first, you’ll find an excellent guide.
A central shelf unit can be created by determining the height from the floor to the bottom of the last shelf. Reduce the length of two side panels to fit. The 72″ to 76″ range is appropriate for this pair of shelves. It is wise to take extra care when measuring and only cut once. Verify the fit after cutting the sides. Cut them down to size if they’re too lengthy. Take care not to shave off too much. You’ll need to reduce four boards to size for the two middle shelves. The recommended size for these is 1 foot. Attach the side shelves to the central shelf with 2 1/2″ wood screws. Time has a loosening effect on nails. The shelves will be fastened with wood screws. Adjust the central shelf to your liking. This system is freestanding, so there is no need to attach anything to the wall.
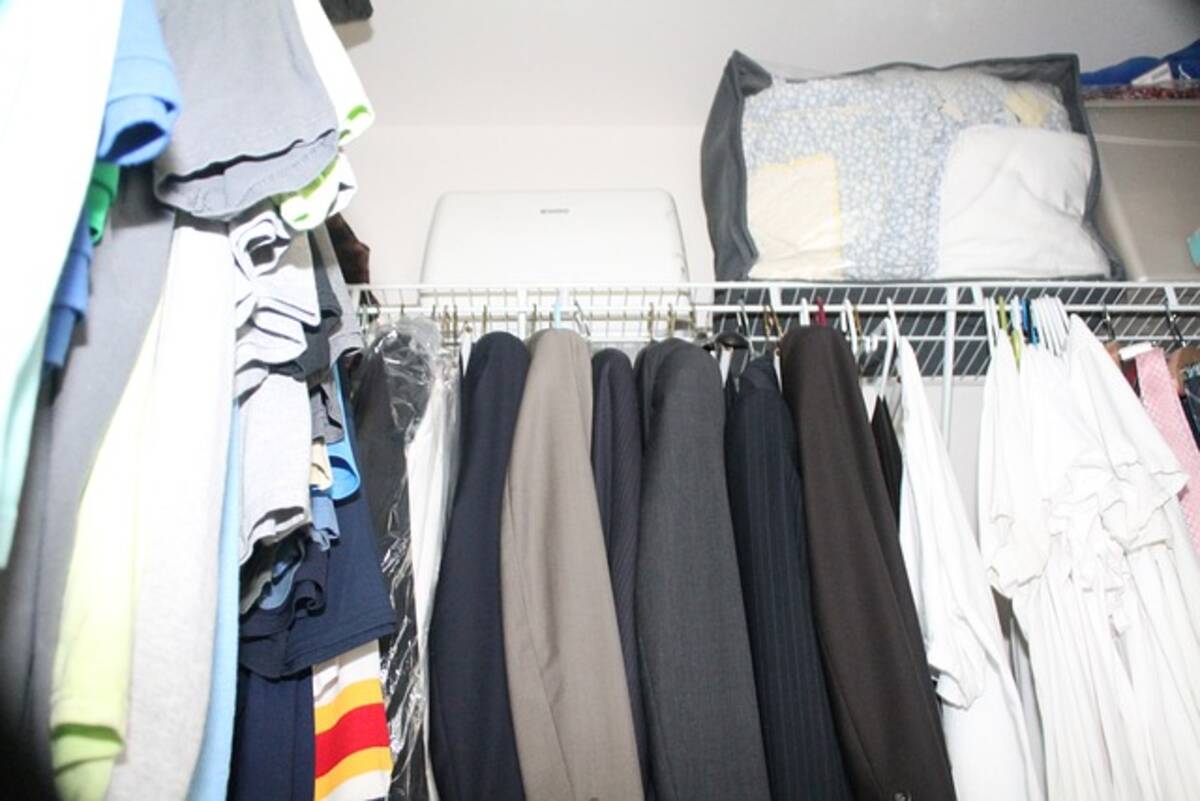
Hardware to mount the dowels is a separate purchase. To suspend the dowels, you’ll require six brackets. Keep in mind that you’ll need to have hangar clearance. Put the brackets 2 or 3 inches below the bottom shelf’s surface. The topmost dowels will use this. The minimum height for installing the lower dowel brackets is 38 inches. Insert the dowel rods.
That settles the matter, period. You have now learned the fundamentals of closet organization. When finished, the closet will be neat and orderly.
Don’t know which closet system will work best for your space? Visit [http://www.bestclosetorganizerguide.com], a well-known closet-organizing site that offers advice, tips, and resources for organizing small closets [http://www.bestclosetorganizerguide.com/small-closet-organization-tips-16.html] that always seem to have stuff thrown into them, to learn more about inexpensive closet organizers.
Read also: Grey Furniture Decoration Ideas For Your Living Room.