
Changing as well as installing a light fixture will be as easy and safe as adjusting a bulb if performed properly. Many people are scared of energy because they simply do not know ample about electricity or the way it functions. With a few very well-learned simple rules, it could possibly save you a great deal of money in installment fees.
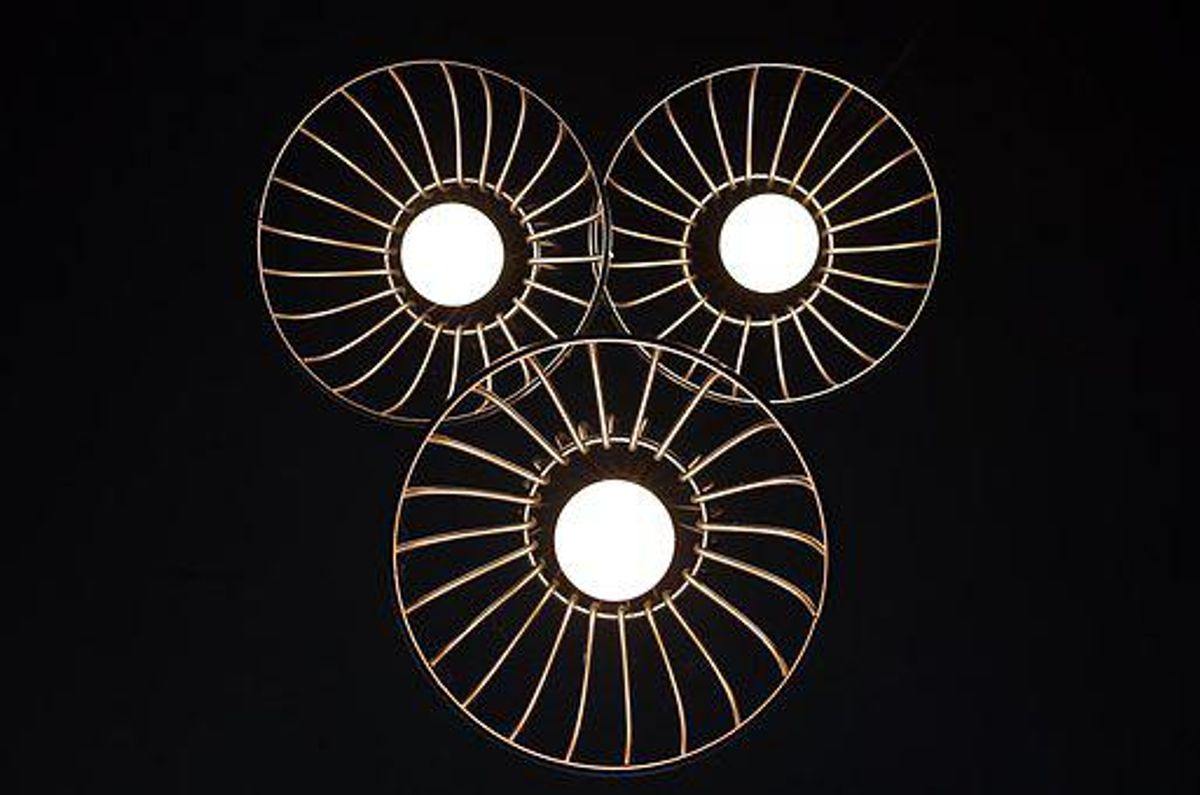
Light fixtures can be found in thousands of different shapes and sizes, shades, and finishes. Plastic, steel, wood, and glass are typical common materials used in accessories today. You can purchase fixtures from Big box stores, hardware retailers, and lighting specialty retailers. The specialty stores typically carry a higher-end selling price line of fixtures but also can order or have custom-made accessories done for you as well. Container stores do not usually supply that level of service. When you need an inexpensive jelly jar light fixture for outside your Brooklyn garage door, a $5. 99 light fixture is available everywhere. If you need a great eight-foot high flambeau for your main hallway or perhaps dining room for $8000 us dollars, a specialty store could be more in line with your needs. Tend not to and I repeat, do not make an effort to install or replace a great eight-foot chandler in your first try at light fixture replacement. Start with an inexpensive jello jar unit.
The very first thing you need to do is unpack the light fixture and make sure everything is included. Light fixture, screws, mounting plate, line nuts, assembly instructions, etc. You will need a electrical existing tester (voltmeter or check light), a wire stripper program, flat-nosed pliers having side cutters, and a twist driver. The very next thing to try and do without exception is to go out the power breaker to the electric power outlet at the main electrical panel. This is without a difference. Your life could depend upon the item. Do not get careless. Many people are harmed each year thinking the power seemed to be turned off. Make sure it is definitely.. If you are afraid or not guaranteed, call in a pro. Do not take risks. Ok now with the power breaker off, use your testing program to assure the power is off on the outlet. Carefully remove the line nuts and touch any lead from your tester with each black and white wire. You should get simply no reading or light. Should you choose, you turned off the wrong breaker. Do it again. With no power, we can easily now safely remove the previous fixture. Remove any anchoring screws or bolts holding often the fixture, wire nuts, or yard straps, and carefully you can put the old fixture safely away from your way for disposal.
I find many times the mounting segment for the new fixture matches the old and does not need swapping. This saves a little the job and time. First link up the bare copper installation wire to the solid real estate agent ground wire in the electric power cable in the gem pack. This will ground the installation and can provide a little help support while you work. Next link up the white fixture twine to the white power twine with the flat-nosed huge pliers by twisting the last one particular inch of the wires collectively and then add one of the fresh wire nuts. Repeat this method with the black wire. The particular fixture is now wired. Then I install a new bulb and also turn on the switch. Possessing someone standing there, navigate to the main breaker and change it on for a test. In the event the fixture lights, you performed the job well. If the breaker kicks off, you may have crossed the particular wires or have a simple wire touching the power box causing a short. Convert the breaker back off and also check your work. Constantly work with the power off. Supposing the power test went properly, return to the fixture and also carefully tuck the wiring into the gem box perfectly being careful not to shift the wire nuts. Put in the mounting screws to carry the fixture to the divider, add the required bulbs, places to eat, or other accessories and you are done. Turn the power rear on. As you progress with replacing bigger and more tricky fixtures you may want to try adding a new fixture where just one did not exist. In the state electrical code (NEC) which will virtually all of the states realize as the authority, a new installation is an extension of the household electrical system and requires a thorough inspection by an underwriter. Quite a few, many municipalities require a making or electrical permit due to work as well and also may need you to submit to them a copy with the electrical certificate the underwriters will issue after a check-up of the new work. Performs this happen in real life? Certainly not but it is the code. Several fixtures are changed or perhaps added without permits or perhaps inspections and that is why so much proper care needs to be taken with this performance.
People add on an outlet inside a garage or basement rather than give it a thought. A fresh fixture over the bathroom bowl or even trading out some sort of old-style outlet for a modern type with a grounding opening technically are all changes to typically the home’s electrical system. An incorrectly installed Ground Wrong doing Interrupter outlet (GFI) offers a false sense of safety measures and protection and in simple fact offers no at all. Some sort of faulty GFI can result in some sort of death just to save $75 possibly even by a qualified domestic electrical engineer. I have found entire portions of any home rewired by the property owner without regard to the variety of outlets on a single breaker, signals wired to outlets, improper wire sizes, outlet location, and so on. All of these requirements are available for a reason. You plus your family’s safety depends on the idea. If you don’t know the rules contact someone who does. Many localities today also require an electrician to have a license. Whenever they do, ask to see the idea before he–she works on the house. Unauthorized alterations to a property’s electrical system may cause you a great deal of grief with your insurance firm in the case of a fire or maybe injury. In my area, a house owner may perform his own job but is subject to similar rules and inspections being a licensed electrician.
If you make a decision you can handle adding the latest fixture, the rules are just about the same for one light while ten lights. Check the amperage draw on the fixture, increase it to the other items about that breaker, and if it’s less than the breaker’s functionality (15 amps perhaps) you are good to go. We are installing another jelly jar at a part door in this example. Discover the closest power source which is fed from the panel. This might be an outlet but is rarely another light fixture. In case you feed from an existing permanent fixture, that fixture will have to be upon for you to operate your new permanent fixture and that’s generally the no, no. If you find a nearby outlet that is run unless the breaker is crooked, check the inside of the box for your number of wires. If it is 2 wires or less, there is a good place to tie it into the electrical system without overloading the electrical box.. Using the breaker in the off place, carefully unscrew the existing store and pull it softly out of the box. The cables will come with it at the same time revealing the wire nuts. Operate your new electrical cable from the existing box towards the new box you set up for the light switch and also the fixture by the door. The actual minimum size wire will be fourteen gauge wire. I personally use all twelve gage for added safety. Your wire may have a black, white-colored, and solid copper cable inside the jacket. Pull the actual wire into and with the electrical boxes at each end. Leave about 1 foot of wire jutting out of all boxes. If you are using plastic-type material gem boxes, they will have got a tab that holds the wire available with no further work to keep the wire. If you are using metallic gem boxes, you will find the clamp and screw within the box that must be tightened in order to secure the power wire in position. Tighten the screw nicely but not enough to crimp or cut the plastic coat wrap on your power cable. If the new wire is within exposed stud walls, secure the wire to the buttons with the proper electrical favorites. One staple should be in four to six inches of the packing containers and the rest of the wire needs to be sufficiently stapled to safeguard the wire in place. Yet again, do not drive the worn so deep that you trim or crimp the wire connections jacket.
Unpack your gel jar fixture and set it up according to the instructions included with typically the fixture. These are simple lighting fixtures with only two rising screws to secure typically the fixture bracket to the gemstone box, three wire almonds to connect the black, bright, and copper ground wire connections, and two final anchoring screws or nuts to belay the fixture to the rising bracket. Install the light bulb and any covers or maybe glass.
Now install your own personal switch. Connect the two basic copper wires together with some sort of wire nut and contain them tightly in the back of the field. Connect the two white wire connections together with a wire fanatic and also pack them in the box. Now using a pair of black wires, strip again ¾ inch of cord wrap, and curve the cord ends into a loop along with fastening securely under the anchoring screws on the side of the switch. I enjoy wrapping one strip involving electricians’ black tape all around my switches and shops to cover the screws. Whenever removing these later, will help prevent an accidental surprise from someone placing their own fingers across the screws. Secure the switch into the jewel box with the screws supplied.
Moving to the end from the wire where you are getting your energy we will assume it is in an outlet for this example. Remove back the exterior plastic coat on your cable as much into the box as you can achieve exposing the three wires within. Be careful not to damage the outside cover on the black and white wires. The actual copper wire has no addressing. Connect the solid copper mineral wire to the other solid copper mineral wires in the gem package or the green-colored attach on the outlet if an example may be available. This completes the land wire. Connect the white or black wires to the outlet. Be sure white is connected to bright and black is linked with black. Do not cross all these wire colors or you will have a dead short in the technique. One method in newer stores is to strip back about ¾ of an inch involving wire covering and stab the wire into the suitable hole in the back of the wall plug. You will see that the black and white wire connections are on opposing holes to each of your sides. If black with the top hole on one area, the white is in the bottom level hole on the other. This construction will make both receptacles’ availabilities have power. A better technique is to strip your cables and connect them to the anchoring screws on the sides of the store. The screws are stainless or silver and metal colored. An easy reminder on your own is black= brass or even B to B. Whenever you connect your wire for the outlet, just use the leftover two opposing holes and you may have full-time power to your own light switch. Replace the store back into its original place in the box.
Turn your own breaker back on at this stage. If all your work had been done correctly the breaker will stay on with no problem. If this kicks off, you have a short and you also must recheck your work. Change the breaker back as well as check all the wire nut products and wires to assure none are crossed, touching one another or the metal boxes, and so on If the breaker stays upon, try the light switch to guarantee the fixture lights correctly. If the fixture works properly, install your plate and store covers. Your jelly container light is done.