
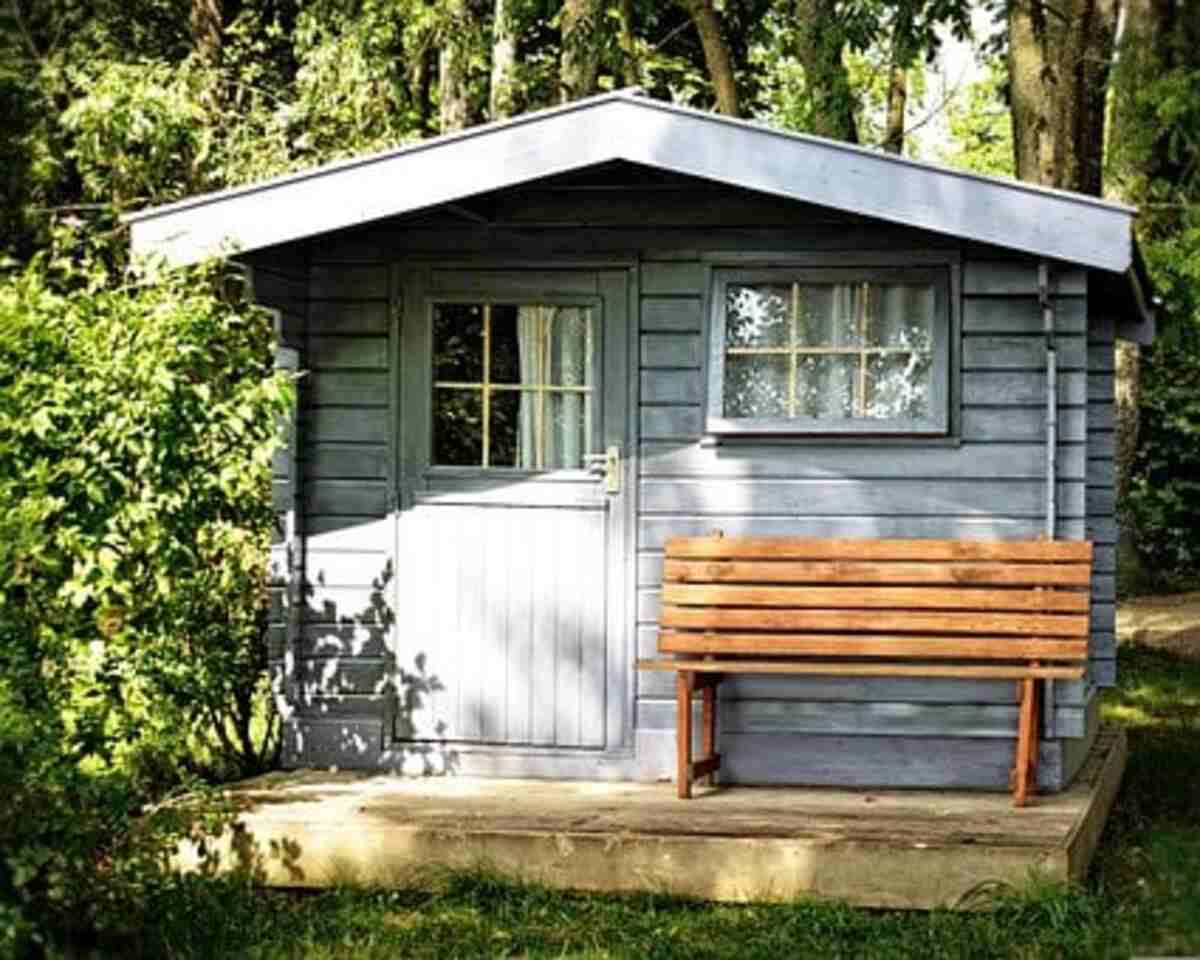
Looking to add more room to your wooden shed? Well, this kind of comes as no surprise given an old declaration that items increase for you to fill the available space. Over time, a loss that could initially house yard items and leave additional room for more soon gets cramped, creating a need for growth.
Your interests could also change over the years, and you may keep an eye out to add something extra to the wooden shed, such as a greenhouse or a more prominent work area. Such changes call for adjustments to the shed, and several choices are available to you, depending on your requirements.
Just about any, as is the case with all buildings, some factors must be considered when embarking on making a good addition. First off is the charge factor. Depending on the amount you will be willing to spend, you will need to break down the costs together with your budget to figure out the way onward.
Time also comes into play. If you want to expand soon, take into consideration how your design makes a difference in how fast you end the job and make changes correctly. Regulations also come in when making upgrades, and you should ensure that your preparation is in line with the community policies.
Materials should match those in the existing get rid, particularly on the exterior, for cosmetic purposes. If you do decide to start a mix-and-match job, look into perhaps the materials complement each other in case not; it is a great idea to achieve the design a second thought.
Using these factors, it’s simple to get started on the project.
Generating an addition
In the event that you wish to create a further room by expanding the shed, typically, there are a few critical actions that will get you there. The advantage of the steps I have listed below is that they are pretty simple, and you can do the job independently without needing outdoor help. Let’s get started.
Step Number 1
In this kind of growth, you will require getting rid of one part of the shed, depending on to wish to expand. While performing siding removal, take extreme caution not to damage the existing loss. Also, handle the side carefully as you can use this material in the latter stages, which will read to reductions in charges.
Having completed the eradication, get started on making the the latest walls for the extra place. If the doorway is quite intensive, you can frame it by simply bracing the roof temporarily in addition to cutting studs using a reciprocal saw.
Next, nail some sort of two by 6-inch header board between the suds covering the framed doorway and ensure that you just secure it with buttons starting from the header to the floor.
Leave home open and move on to the next measure.
Step Number 2
With the very first step out of the way, things are becoming severe, and preparation in the new room can begin. Create a perimeter for the additional space flooring and excavate dirt up to ten inches deep.
Create a couple of by four frames across the floor perimeter. Make full use of stakes to ensure that the particular structure is secure. Start by pouring small at least one inch deep into the excavation pit. Compact the particular gravel using a hand tinker and follow this process together with spilling four inches of concrete over the gravel.
Utilize a longboard to amount the concrete and soft it over using a trowel. Provide concrete time to cure because you set upon other effects in the shed.
Step Number 3
It is now time to shape the addition. Do this through walls with bases. This measure two by some inches. Also, add major plates, as well as straight buttons in between at intervals, measure sixteen inches.
You can now create the walls and made sure that the underside plates get fastened to the floor through the use of concrete claws. Concrete screws work just a good should you wish to use them. With the partitions firmly secured to the basic, you can tie them along using cap boards overlapping the wall joint parts.
Ensure you put a limit between the edges on the shed’s side where you began the particular expansion. Take care of the drainage by using a double two simply by four or a two simply by four with a one simply by four over it. With these setup, a slope will get intended to ensure that there will be no h2o lagging in the shed down the road.
It is now time to get to work. Nail the end walls and the cap board to the buttons in the shed. Following this, go on and nail a couple of my four rafters throughout the expansion. While doing this, make sure that they lie flat particularly on thick side facing lower. They should rest twenty-four in. Apart.
Step Number 4
Almost there! We are only some simple steps away from a successful conclusion. Complete the job by adding an aspect to match, and you can use the house you removed earlier everywhere possible. If you were able to may help siding without causing significant damage, you could use it. Usually, opt for another siding.
Nail beds in new corner decrease boards to the corners, in addition, to follow this by using sheet metal flashing where they talk with the roof. Slide the sheet metal flashing at least four inches width under the shingles on the unique roof. It should also be at least four inches down the fresh roof.
When installing a new roof for the addition, you should use roofing material like that on the existing rooftop for aesthetic purposes.
Since you can easily observe from the steps thoroughly above, creating an additional bedroom for your wooden shed is often a walk in the park, and you ought to get it done in a matter of days. Additionally, you will have lots of fun inside the outdoors as you create a shrine for yourself.
Finally! You are done and will now get started on reaping some great benefits from your hard work. Congratulations!
Read also: Tips On How To Manage Your Time For Productive Living